My Mac suddenly refused to accept the login password and I couldn’t get in. It was a nightmare because all my important files were on it. Apple’s support suggested reinstalling the system, but what about my data? That was the moment I realized how risky it is not to have a proper backup.
If I had a backup, there’d be nothing to worry about. Luckily, I eventually got back into the system without any data loss, but the experience taught me a lesson: backups are essential, especially for work machines. They can save you from the massive pain of rebuilding everything.
So I started thinking about a backup strategy. The two typical options are: 1) plug in an external drive, or 2) back up over the local network with something like a NAS. After weighing the options, NAS felt like the most cost-effective and flexible solution. Plus, a friend had already recommended it, so I decided to dive in.
Picking a Model
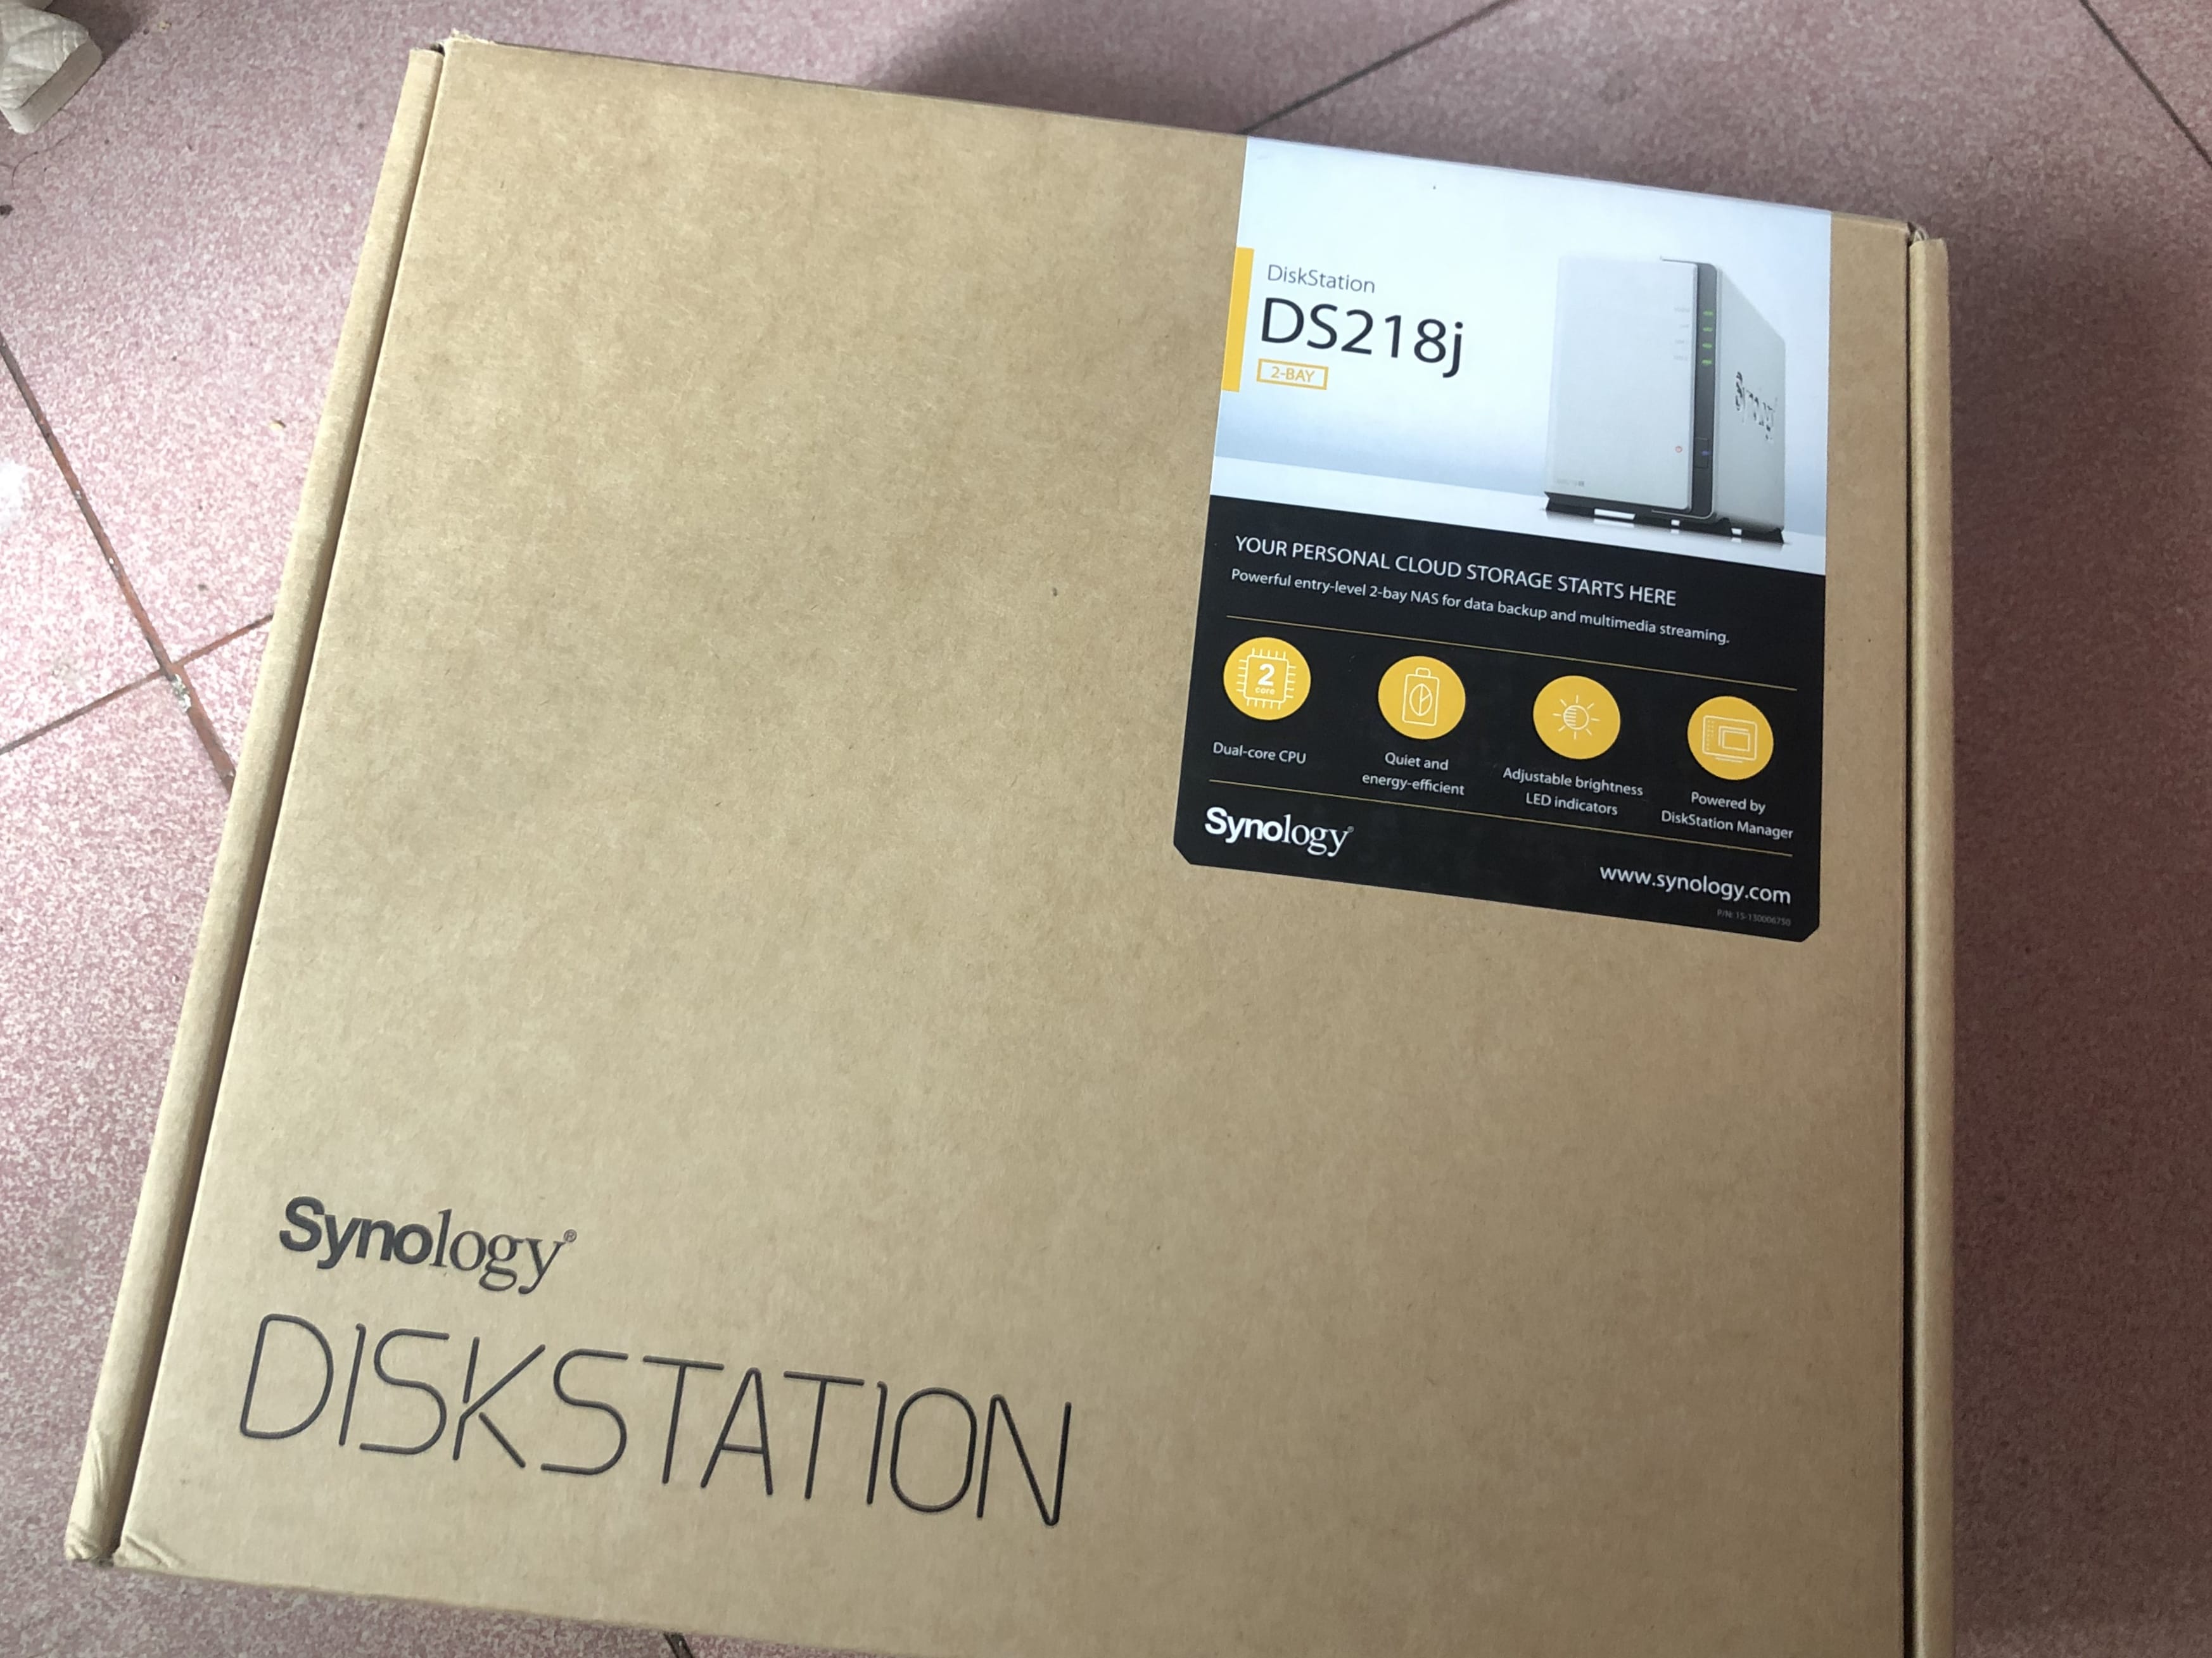
Once I committed to buying a NAS, the next question was which brand and model. A bit of research showed that Synology gets great reviews—people even joke that buying Synology is like “paying for the software and getting the hardware for free.” That sold me. As for the model, it mostly comes down to budget. For beginners, the DS218j is a solid choice: dual-bay, 512 MB of RAM, about 1,299 CNY for the bare unit. Add a 2 TB Western Digital Red drive for 549 CNY and you’re at roughly 1,800 CNY total. Not bad.
It takes just a few minutes to get up and running, and the initial setup is quite straightforward. Here are the services I use the most.
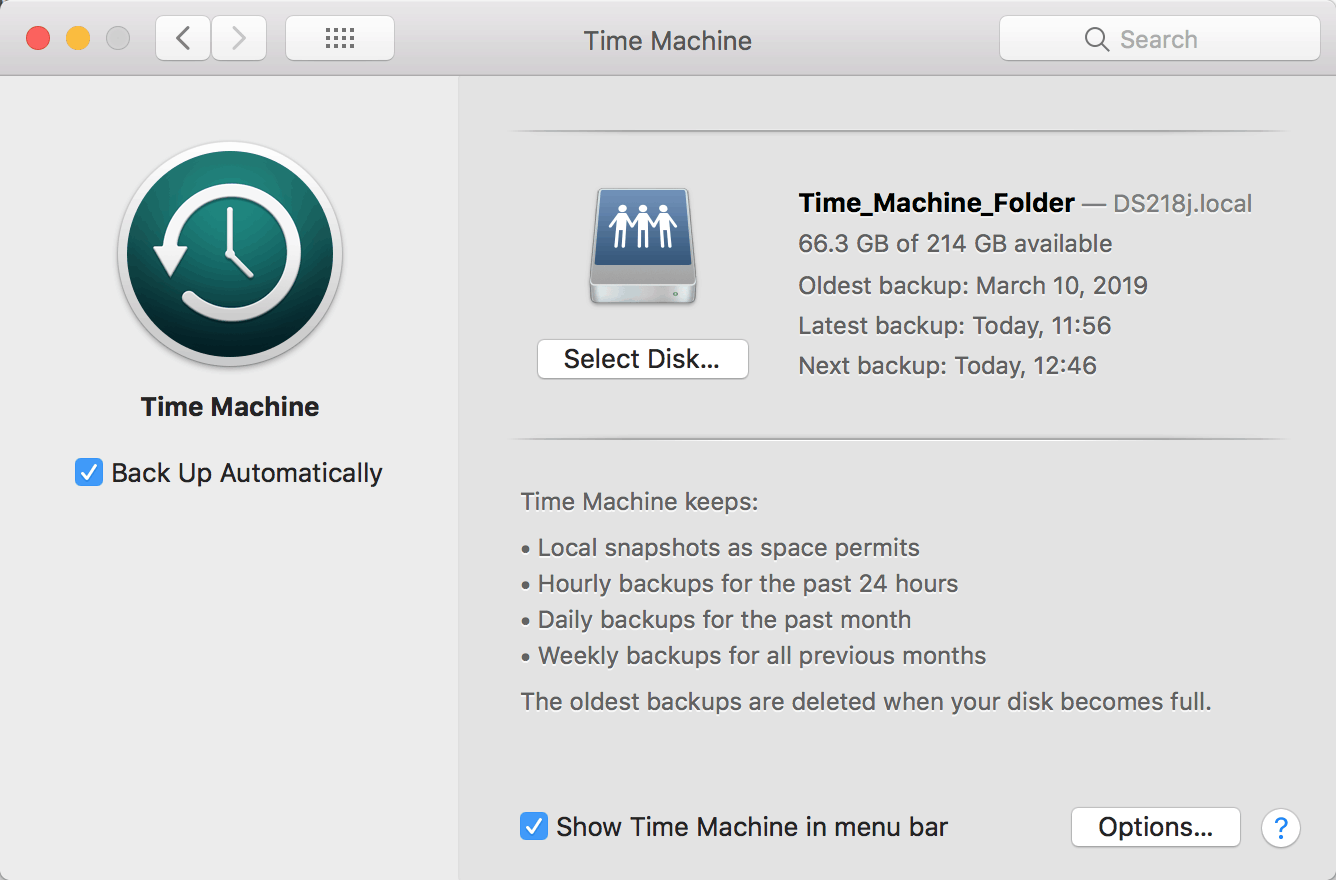
Time Machine
For the setup guide, see the official tutorial: How to back up files from Mac to Synology NAS with Time Machine
The end result is that every hour, my Mac runs a backup automatically when I’m at home. My mom no longer has to worry about my Mac acting up—even system upgrades are safer because I can always roll back.
Note that this backup runs over the local network.
Map Shared Folders to Your Computer
You could log into the NAS to watch downloaded movies, but the most convenient approach is to map the shared folder as a drive and access everything directly from your computer.
For instructions, click here
WebDAV Server
Install and enable WebDAV so that apps like Infuse can access your downloaded media. You can also use SMB, but I chose WebDAV so I can reach the NAS from outside my home network.
QuickConnect
How do you access the NAS remotely? Synology offers QuickConnect and DDNS.
- QuickConnect: Open Control Panel, find QuickConnect, and register. If your QuickConnect ID is
xxx, thenhttp://xxx.quickconnect.cnwill reach your NAS when you’re away from home. - DDNS: You need a public IP from your ISP and port forwarding configured on your router.
With these two options, remote access is easy. In practice, performance is perfectly acceptable.
Handy Apps
Synology Photos
Install the DS Photos client on devices like Apple TV to browse your photo library.
Download Station – the ultimate downloader
Using the NAS for downloads is fantastic. I used to leave my laptop or desktop running all night to grab files, and sometimes I had to delete favorites because of limited space. Now I just log into the NAS, start the download, and later I can stream or copy the files directly from the NAS. High quality, no ads—bliss.
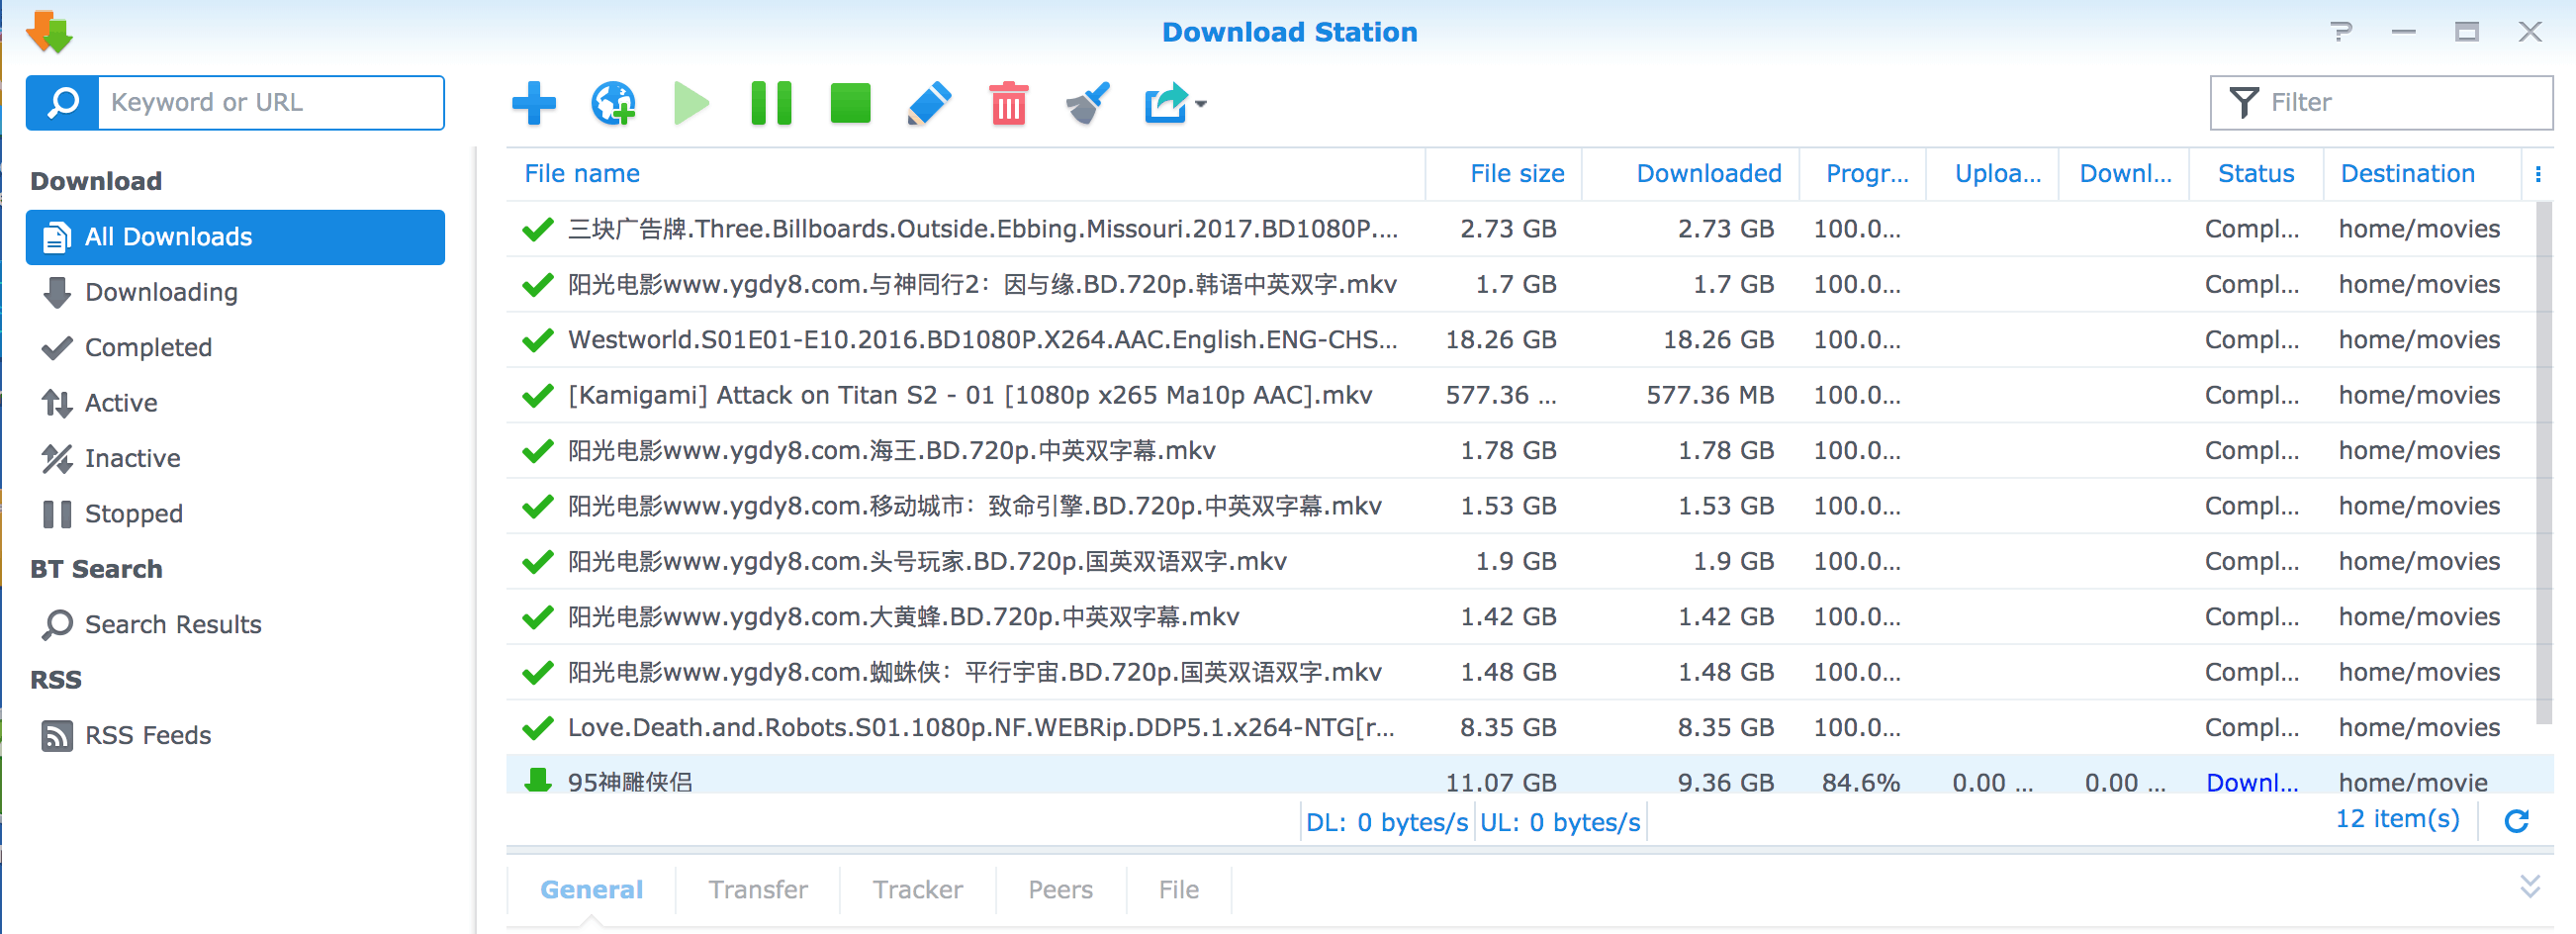
When you’re browsing the web, just right-click magnet or torrent links to add them.
Final Thoughts
There’s still so much more you can do with a NAS—host websites, run a private cloud office suite, and more. I’ll keep exploring.