Recently, I needed to enable two-factor authentication to publish Actions to the GitHub Market, so I set it up. But I found there were still some pitfalls, so I’m recording them here.
Enabling GitHub Two-Factor Authentication
- Click on settings-Account security in the top right corner
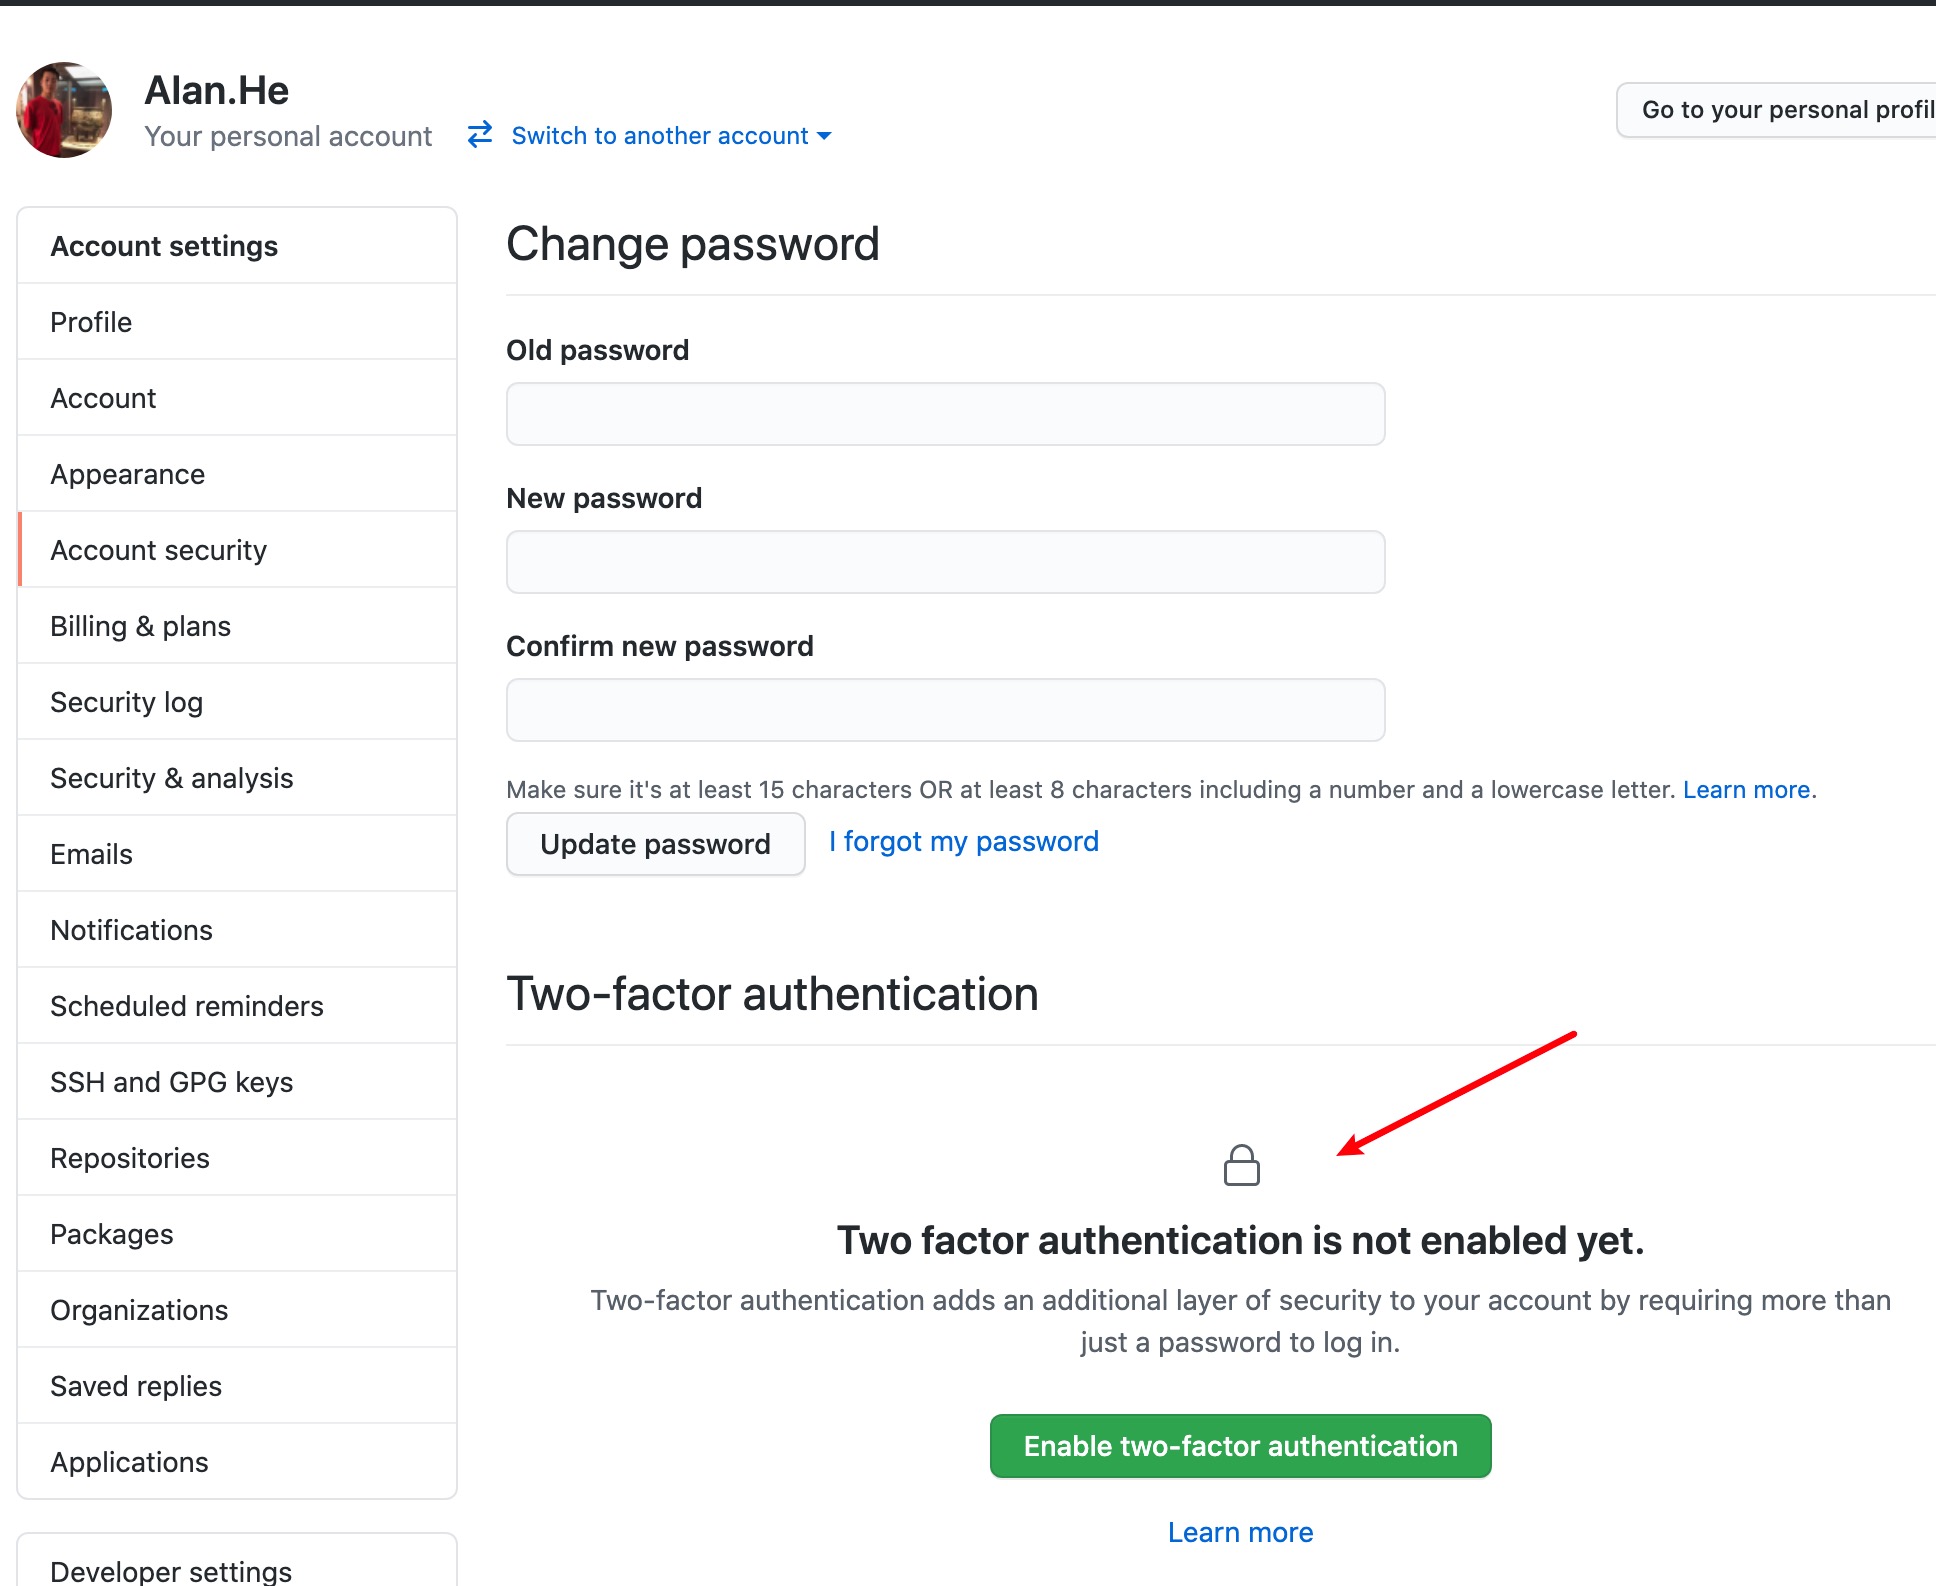
Follow the prompts to enable it. During the process, it will remind you to
download recovery codes, download and save them.The QR code that pops up needs to be scanned with an MFA-supporting app. For authentication apps, there are many choices. I personally prefer using 1Password
- Let me explain: the QR code itself is a link, but not necessarily an HTTP link. The reason it’s not directly shown as a copyable link is probably because it’s insecure and user-unfriendly
- After the app scans it, it stores this link as a login item. Each time you click the app, it actually requests a new, time-valid verification code based on this link
Fill in the verification code to successfully enable two-factor authentication
1P Scanning QR Code
The way to find QR code scanning in 1P is quite hidden, as shown in the image
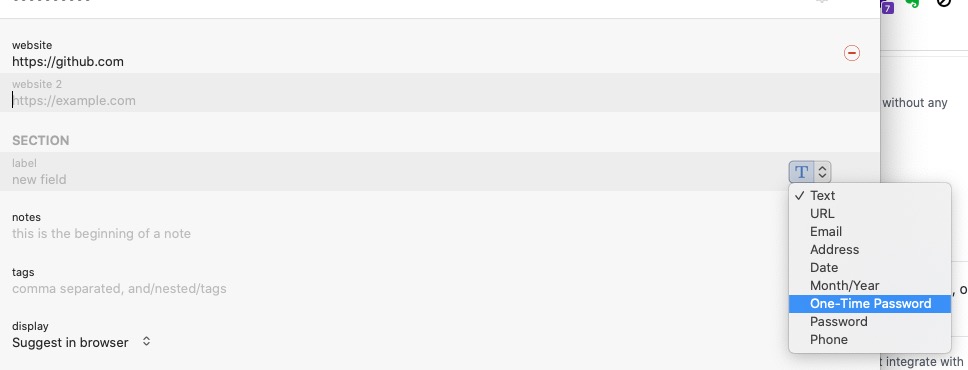
After scanning the QR code provided by GitHub, 1P can store this item. In future operations, 1P will prompt as follows, just copy and input

Notes
- 1P recommends using the web version download rather than the App Store version, as permissions differ
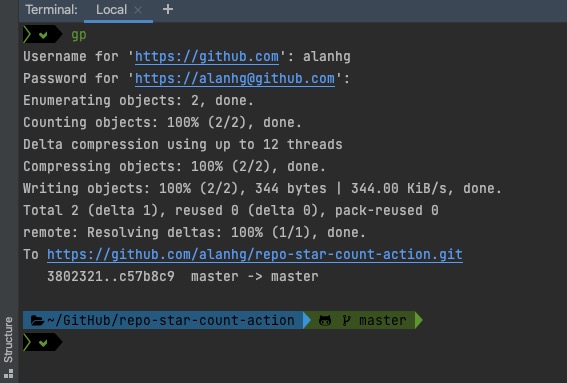
GitHub Push
After enabling two-factor authentication, I suddenly found that code commits weren’t working. The solution is: Settings-Developer settings-Personal access tokens, generate a new token as password, input it, and the computer will cache this value, so you can continue normal push operations.
Final Thoughts
Only after enabling this verification did I notice that 1P actually supports this. I have to say it’s really great.