I recently spent some time exploring Google’s Identity-Aware Proxy (IAP) and experimented with different ways to manage Google Cloud VMs from my local machine. Here’s a summary of the setup process for future reference.
1. Getting Started
To use GCP, you’ll need:
- A Gmail account.
- A Payment Method: You cannot create instances without a valid credit card on file.
- Note: Be careful with free credits. Even if your console shows a balance, these credits have an expiration date. Once they expire, you will be charged real money for any active resources.
- I used a standard Visa card, and the verification was straightforward.
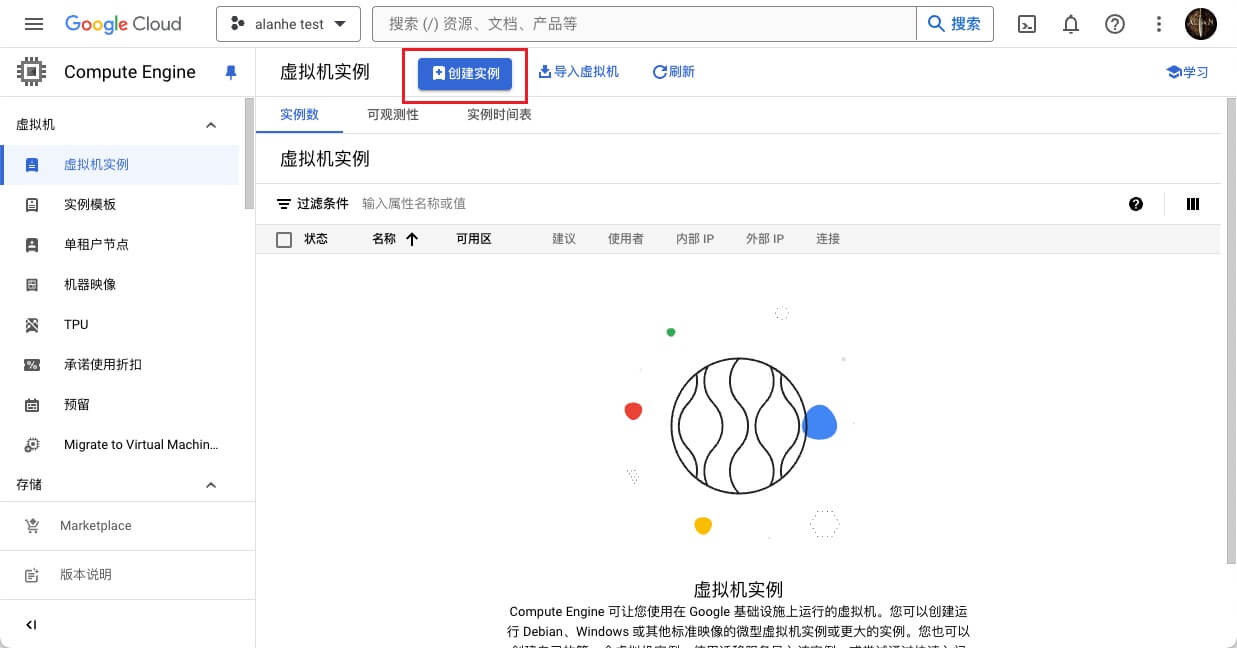
2. Creating an Instance
GCP bills Compute Engine (VM) instances per second. However, since the rates are in USD, costs can escalate quickly if you aren’t careful. If you are just testing, remember to Delete (not just stop) your instance as soon as you are done.
Configuration Tip: After creation, you can edit the instance to disable its public IP for better security. You can also enable detailed logging, but keep in mind that log storage itself is a billable service.
3. Connecting to Your VM
GCP provides several browser-based connection methods, such as Cloud Shell and the integrated Web SSH client. However, for a better development experience, you’ll want to connect from your local terminal.
Method A: With a Public IP
If your instance has a public IP address and you’ve allowed SSH traffic (port 22) in the firewall rules, you can use standard SSH.
Method B: Without a Public IP (via IAP)
IAP (Identity-Aware Proxy) allows you to connect to VMs that do not have external IP addresses by tunneling through Google’s infrastructure.
- Configure IAP Permissions: In the GCP Console, go to the IAP settings and grant the “IAP-secured Tunnel User” role to your Google account for the specific resource.
- Firewall Rules: Ensure you have a firewall rule that allows ingress traffic from the IP range
35.235.240.0/20on port 22. This is the range Google uses for IAP tunneling. - Install the Google Cloud SDK (gcloud CLI):
# Example for Linux/macOS curl -O https://dl.google.com/dl/cloudsdk/channels/rapid/downloads/google-cloud-cli-linux-x86_64.tar.gz tar -xf google-cloud-cli-linux-x86_64.tar.gz ./google-cloud-sdk/install.sh - Initialize the CLI:Follow the prompts to log in via your browser and select your project and default region.
gcloud init - Connect via Tunnel:
Once configured, use the following command to SSH into your private VM:
gcloud compute ssh <INSTANCE_NAME> \
  --zone "<ZONE>" \
  --tunnel-through-iap \
  --project "<PROJECT_ID>"
Final Thoughts
Connecting via IAP is a much more secure way to manage your cloud infrastructure, as it eliminates the need to expose port 22 to the entire internet. It takes a few minutes to set up, but the security benefits are well worth it. Happy tunneling!