After WWDC, I quickly upgraded my iPhone, iWatch, and Mac, expecting a smooth experience. Instead, it felt like an emotional roller coaster, leaving me in tears at times.
Although I was somewhat prepared for the instability of the beta versions, the actual upgrade experience was indeed a roller coaster of emotions.
How to Upgrade
Visit the webpage, download and install the Profile as instructed, and then you’ll be notified of the new version for direct installation.
Note
- Beta versions are typically updated every two weeks by Apple until the fall conference.
- Always back up before upgrading, such as using Time Machine for Mac, recommended NAS solution for its cost-effectiveness, and iCloud for iPhone backups.
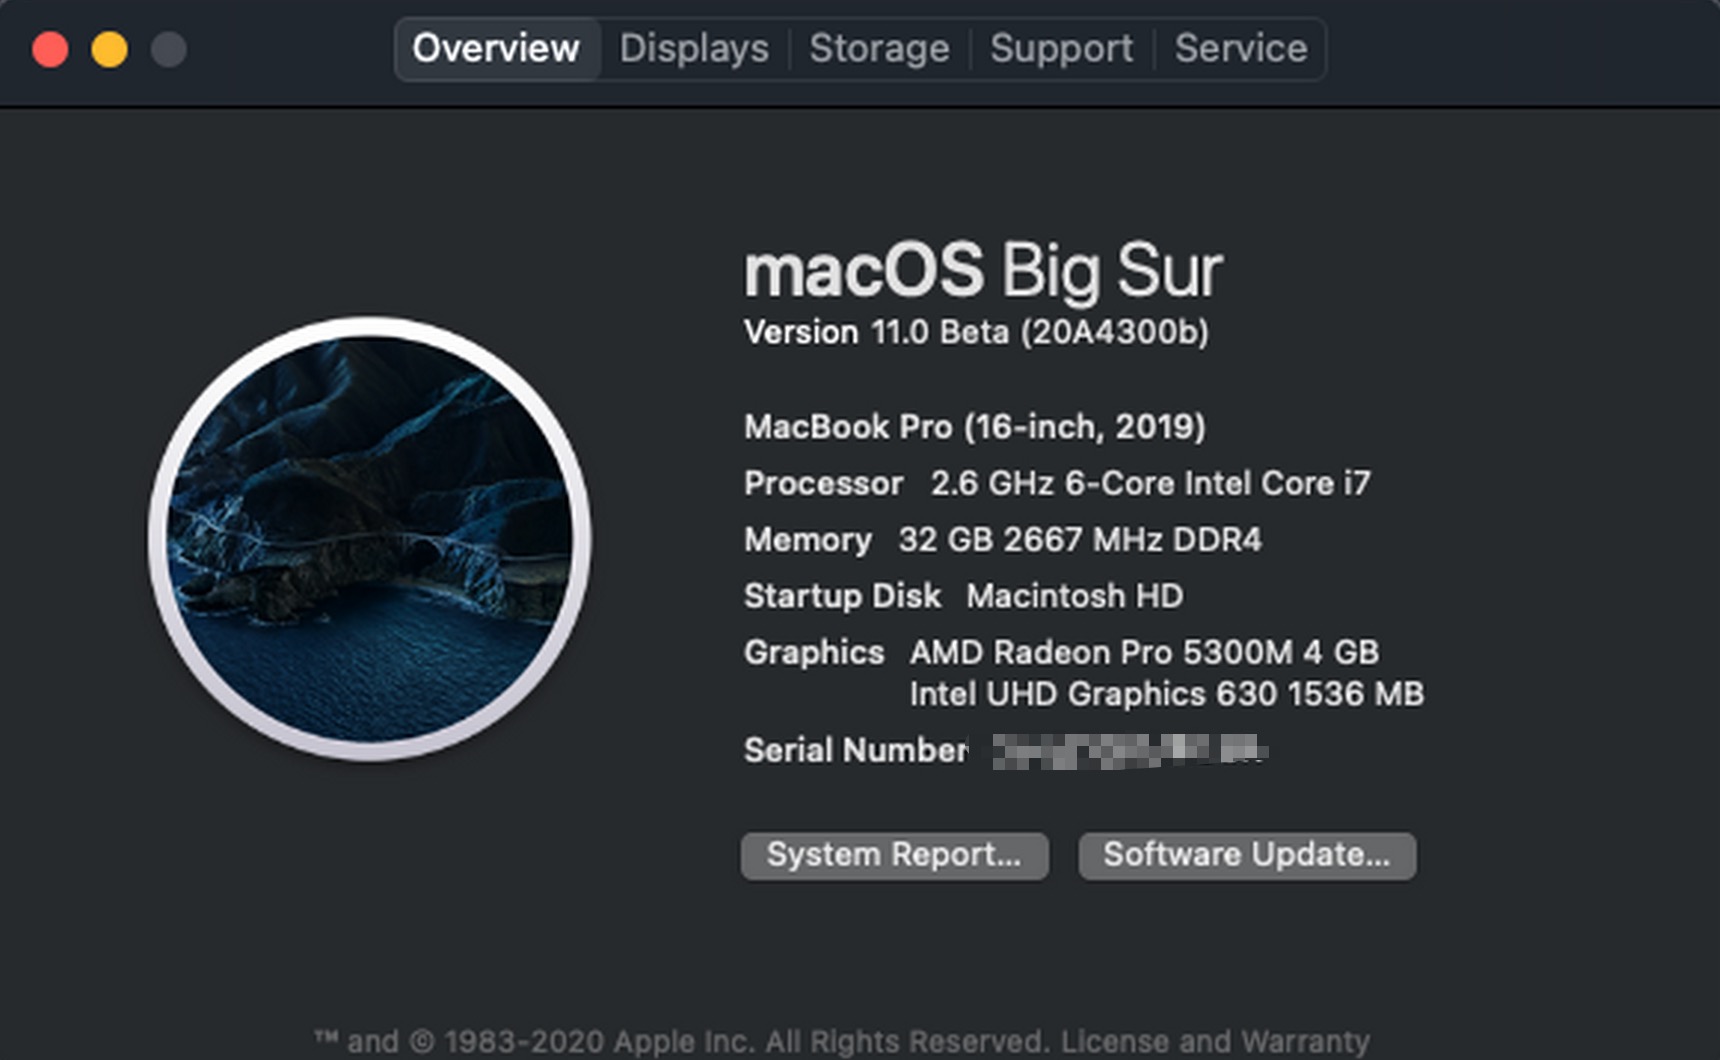
Issues Encountered with Various Devices After Upgrading
The upgrade brought some novelty, like iPhone’s Widget and Mac’s new UI, but also annoying problems.
Mac
- Bartender completely broken
- Terminal often not working, requiring restarts to fix,
improved in beta2 - Shutdowns often fail, forcing me to do hard shutdowns
- Euro Dictionary crashes
- Frequent memory overflows…
iPhone
- WeChat crashes
- AirPods hey Siri not working
iWatch
Given its fewer features, mainly used for checking time and calories, it was okay.
Upgrading might be fun momentarily, but I advise against upgrading daily essential devices to beta versions due to numerous issues affecting daily work and life.
Downgrading macOS Big Sur
Due to the instability of the new system severely affecting my productivity on Mac, I decided to downgrade. Having continuous backups with Time Machine theoretically allows for a flawless restoration.
However, the actual downgrade process was not as smooth due to incorrect procedures.
Note
- Reinstalling the system directly on the device is futile, as it will install the latest version present, like Big Sur.
- Big Sur currently encounters errors when connecting to Time Machine.
Correct Steps for Downgrading
- Hold
⌘ ⇧ ⌥ Rat startup to enter internet recovery. - Format the hard drive.
- Choose to reinstall the system.
- Upon restarting, select Time Machine - specific date backup - restore.
Final Thoughts
This upgrade journey brought many troubles, but also two valuable lessons:
- The severe consequences of blindly upgrading high-frequency productivity tools served as a harsh warning and critique. I’ll never make this mistake again.
- The importance of backup and cloud storage, such as NAS for system-level backups, iCloud for syncing Apple device data, OneDrive for Alfred configuration backups, Google Photos for photo backups, Evernote for cloud note storage, and Jetbrains IDE for GitHub settings sync backups. Planning these services took time, but once a system is established, I no longer worry about data loss. Even with a new Mac or iPhone 11, these cloud data can quickly bring my device back to full functionality.